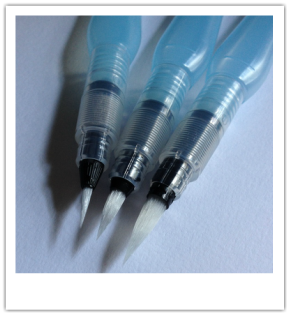
 Fine point, medium point and bold point Fine point, medium point and bold point Hi readers!
Long time, no read! Sorry about that, but life happens. In this post, I'm going to discuss one of the tools I'm using (trying to master). A while back, I purchased the Pentel Arts Aquash Water Brush set, which comes with three different brushes of varying thicknesses. Of course, before I purchased these, I had to watch some videos of other artists using them because it felt like everyone is using them these days and I'm partial to traditional paintbrushes. They seemed like a good idea but I was a little confused by them. For those of you still hestitant about buying a water brush, here's an overview of their configuration. A water brush is much like a normal paintbrush except for the interesting hilt of the brush. The handle of the water brush is not solid. Rather, it's a hollow barrel (made of plastic) that can be filled with water or a watered-down paint, which makes it ideal for working with watercolors. Not all water brushes are alike, varying with brand, but this basically describes their function. As far as their appearance goes, it's pleasing enough. The concept behind it is excellent and it fulfills its purpose. Handling the brush may seem a bit awkward at first, especially if you like how thin a fine point brush can be. There's a whole lot more to grip on this brush. The weight is more than a normal brush because it's full of water (common sense) but it doesn't hinder your brushstrokes. I'm not going to get into techniques because there are plenty of videos and sites out there that discuss this further, not to mention I'm still learning how to use them! The best feature of a water brush is how convenient they are. Nothing is more tiresome than making sure you have a water source with you while you're painting, and watercolor requires a lot of water (thus the name). What's great about the pack I bought is that I may just be using one of the brushes because I'm using a certain size, but the barrels of each brush are all the same so they're interchangeable. Sometimes I'll just fill them all with water and swap them out when I need a refill, so I'm guaranteed to have 3 barrels' worth of water with me, but I digress. To use the water brush, it's not as complicated as it may seem. Simply unscrew the barrel part of the brush and fill with water (I recommend using a faucet). Twist it back onto the brush, and now you have a consistent source of water. You can apply a small or large amount of pressure to the barrel and it will forward water to the bristles of the brush. I was a little unsure how well the brush would retain the water considering the bristles are made of a synthetic fiber that look like those used with fiber optics! To my surprise, they do their job well (not as a fiber optic wand). If they drip at all, it's minimal, and it's easy to control how much water goes to the bristles. As far as painting with them, you can use the water solely from the brush with a dry watercolor palette or with wet watercolor paints, whatever is your preference. Cleaning the brush between colors is easy too! You simply flush the bristles out by squeezing the barrel, causing more water to go to the brush, and wipe with a towel (paper or cloth). Repeat the process until the brush's water wipes clean on your towel. I will say not to expect the brush to ever give a dry brush effect easily, as the brush is constantly wet to a certain extent. I imagine the only way for that to happen is if the brush's barrel was empty and the bristles had dried, but there may be a technique out there on the internet. Bottom line: Do they replace traditional paintbrushes? Not in my book. Are they a nice addition/investment? Yes! Have you used water brushes? Any tips you'd like to share? Leave a comment! Thanks for reading! Keep crafting! -Obscure
0 Comments
 Hi readers!
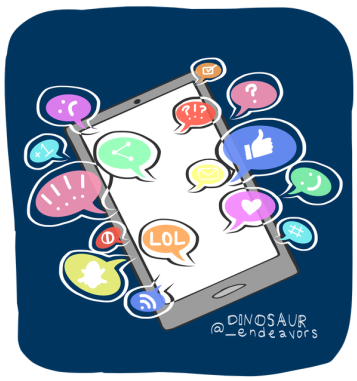
So, as an self-representing artist, it can be a bit of a challenge getting yourself out in the eye of the public. That's something I continue to struggle with because it'll be something you work at forever (because even if you become successful, you still have to advertise your abilities). If this is your first time in the figurative saddle, you definitely want to do research, see what options are available to you locally or on the web. One thing that is constantly encouraged is networking. What better way to do so than through - you guessed it - social media! While it's not critical, it is very convenient. Everyone is on some form of social media these days, but where do you start? First, figure out if you're catering to a particular demographic and use sites and apps that are frequently used by them. Who will enjoy your skills/talents the most? If that doesn't really apply to what you do, go with some of the most popular visual social media venues. It must become your living gallery. Pay attention to what sites businesses are promoting themselves on. You want to display your skills in a professional way but also give room to:
Don't be intimidated, especially if you're not a social media guru. Work your way up, start with one account on a particular site and once you learn to manage it, make an account on another site. Remember not to:
What social media sites work best for you? Leave a comment! Thanks for reading! Keep crafting! -Obscure Hi folks! As craft-related topics come up, I will share my thought processes, techniques, tips and tricks here! So give me something to talk about!
Also, check out the Contact tab above and send some feedback! What would you like to see more of? Feedback helps crafters help you. So, while this will basically be a Q&A, this blog will also give you a sneak peek on different projects I'm working on, my inspirations, and try to keep everyone up-to-date as best I can. These are my hobbies, though, so there's no set schedule. Thanks for reading! Keep crafting! -Obscure |
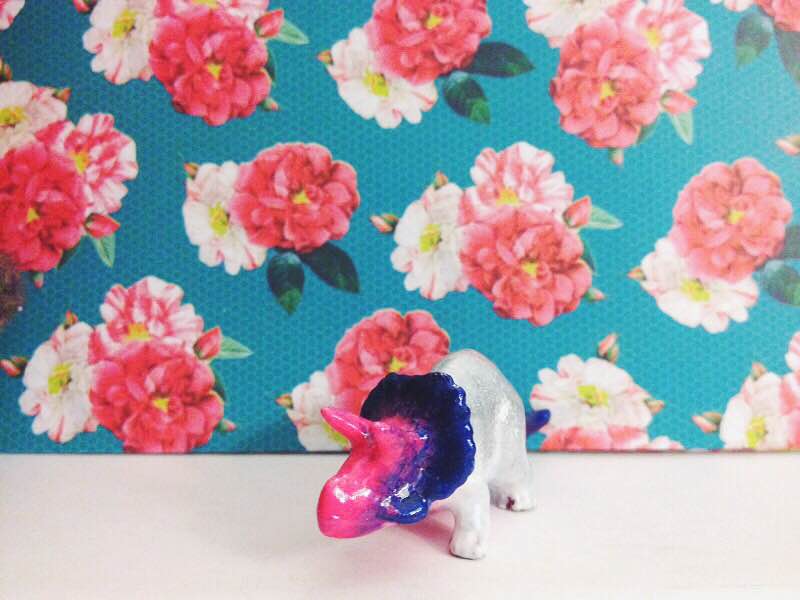
AuthorHi! I'm Obscure the dinosaur. Lost in the modern world and obscurity, a dinosaur must do what it does best - in my case, create. Archives
December 2016
Categories |
 RSS Feed
